Provide users with a more comfortable lighting environment.
It's all under your control
Enjoy a pleasant climate anytime.
so that you can easily control,
at ease and at ease.
opening a new home fashion.

PRODUCT DESCRIPTION
With the brand concept of "simple and luxurious, original and exclusive, human-oriented", with unique design and relative products, it provides a perfect solution and integrates a variety of alternatives to smart home blueprints. T-Touching is synonymous with high-end and taste, and is a huge driving force to lead the development of the world industry. Unique design, perfect combination of craftsmanship and top materials, and extremely sophisticated structural design, simplifying functions and science and technology, all taking humanity as the starting point, creating every product with diligence, no matter from any perspective The requirements for the smallest details are perfect and flawless, even in small places that are invisible from the inside, you can also make a slight defect and compromise.
SPECIFICATIONS
| Dry Contact | RS485 | RS485 | RS485 | RS485 | RS485 | |
| -- | √ | √ | √ | √ | √ | |
| Voltage | -- | DC 12-24V | DC 12-24V | DC 12-24V | DC 12-24V | DC 12-24V |
| Electric Current | -- | <22mA | ||||
| Strength | -- | <0.5W | ||||
| Load | -- | — | ||||
| Code | -- | 0.325-1240-A11M | ||||
| Part No | -- | 011A-B741-XXX | ||||
| Package | -- | C Package/10/100 | ||||
| Price | -- | — | ||||
DESIGN STYLE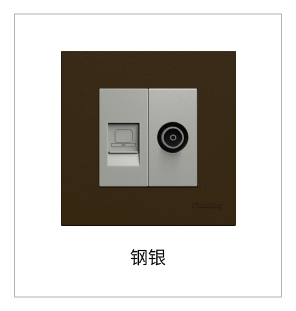
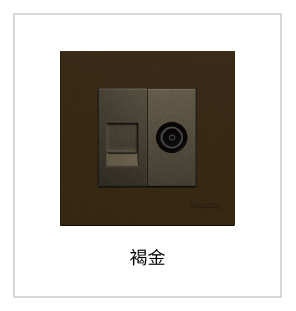
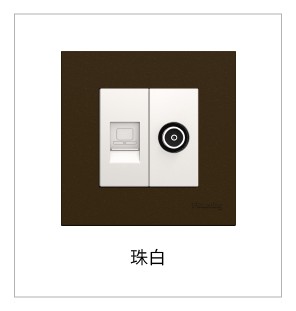
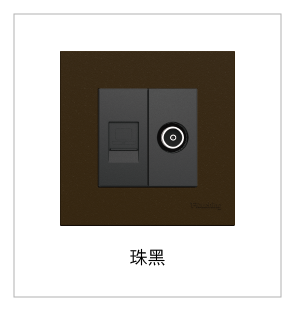
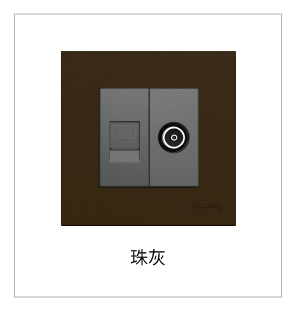
NETWORK SOCKET
RJ45 network signal socket, with shielded high-speed CAT6 module, high transmission speed, effectively preventing electromagnetic interference. Protective door The door is designed to be closed when not connected to the network connector to prevent dust from entering.
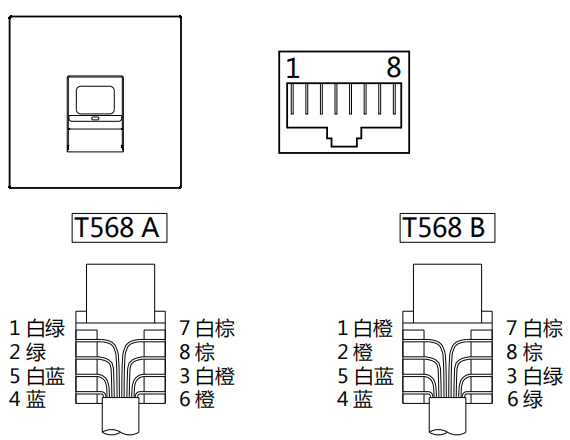
To improve installation efficiency, please use special tools to install wiring.
ANTENNA SOCKET
It is used for the output of various wired, wireless and satellite TV signals. There are two types of connectors (F head high frequency) and (PAL head low frequency).
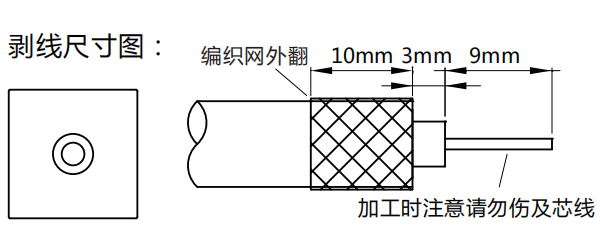
Warning: Do not short-circuit the core wire and the braided network cable, otherwise it will cause internal parts to burn down.
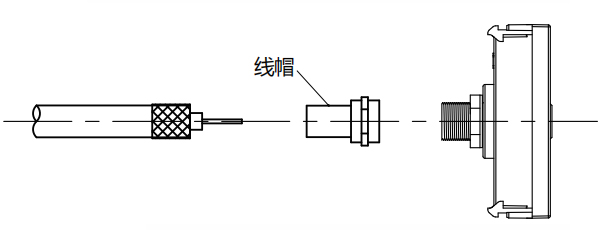
Wiring method:
1. Strip the cable sheath according to the size requirements in the above figure;
2. Screw the stripped cable into the wire cap;
3. Tighten the wire cap into the socket.